Ergonomic office chair features that actually protect your spine
If your chair’s front edge presses into the backs of your knees, your lumbar support misses the curve of your lower back, or your feet dangle, the chair is working against your setup. A label that says “ergonomic” won’t fix those mismatches.
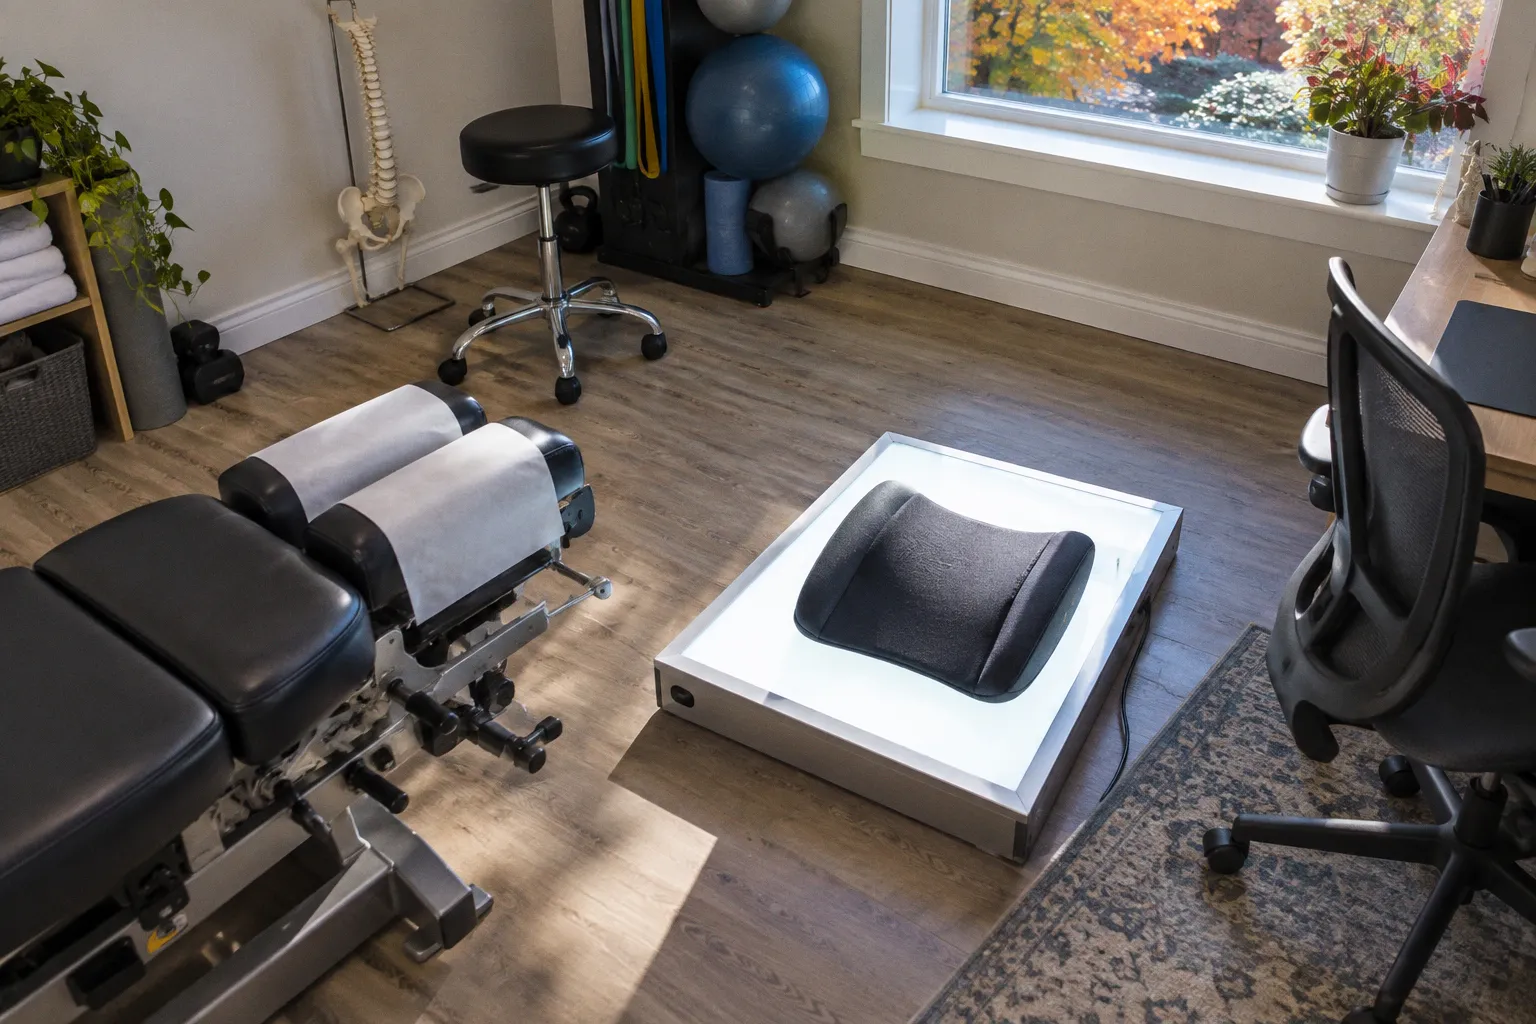
The useful features are the ones you can adjust to your body and desk.
The goal is a stable, comfortable working position that supports a neutral pelvis and the natural inward curve of the lower back. Start with the chair’s geometry: seat height and depth, backrest angle, lumbar support, armrests, and base. Then add movement breaks. A well-adjusted chair can make desk posture easier to maintain, but it can’t make hours of stillness disappear.
Start with the seat: height, feet, and pelvic position
Set the seat height before tuning anything else. Sit back, place both feet flat on the floor or on a footrest, and let your knees bend comfortably. Recommended office-chair seat heights commonly fall around 15 to 22 inches, but that range is a starting point, not a target for every body. Your leg length and desk height determine the useful setting.
If your desk is high, raising the chair may help your arms reach the work surface, but your feet still need support. Use a footrest if needed. If you have to perch on the seat edge to reach the keyboard, change the desk or keyboard position too. The chair cannot solve a workspace mismatch by itself.
Pelvic position matters because it sets the base for the rest of your posture. When the seat slopes or the backrest angle encourages you to slide forward, you may lose contact with the lumbar support. A chair with a seat-pan tilt adjustment gives you another way to find a position where your pelvis feels supported rather than tucked under or tipped forward.
Many ergonomic guidelines recommend an angle of roughly 90° to 120° between the seat pan and backrest. Treat that as an adjustable range, not a posture you must hold at one exact angle all day. A slightly reclined position can feel easier for some people, while others prefer a more upright setting for focused keyboard work. Set the backrest so it supports you when you lean back, then check that you can still bring your hands to the keyboard without reaching.
Quick setup:
- Sit fully back in the chair, with your pelvis near the backrest.
- Set your feet flat, using a footrest if the chair must be raised.
- Adjust the backrest until it supports your trunk without pushing you forward.
- Recheck your keyboard reach. Keep your shoulders relaxed instead of hiking them up.
Seat height, desk height, and foot support work as a team. If one forces you out of position, tune the whole setup.
A lumbar support chair adjustment guide
Lumbar support should meet the inward curve of your lower back. If it sits too low, it may push against your pelvis. If it sits too high, it may press into your mid-back. You want steady contact that feels supportive, not a hard lump you brace against.
Look for a chair with lumbar support you can adjust vertically. Some models also let you change its depth, which controls how far it projects toward your back. That extra adjustment can help you fine-tune the fit, especially when a fixed support feels too prominent or barely noticeable.
A technical adjustment range for lumbar support often runs from about 5.9 to 9.8 inches above the seat pan. Those measurements describe the mechanism, not a universal setting. Your torso length determines where the support should land. Use your body as the guide: sit back, relax your shoulders, and move the support until it contacts the lower-back curve comfortably.
Some chairs pair lumbar support with seat-pan tilt. Research using radiographic assessment has found that seat tilt and lumbar support can improve forward pelvic rotation compared with sitting without those features. That finding helps explain why adjustability matters; it does not mean a particular chair prevents pain for every person or replaces movement.
Try this sequence:
1. Sit back with your feet supported and your pelvis settled on the seat.
2. Move the lumbar pad up or down until it meets the lower-back curve.
3. If the pad moves in and out, bring it forward only until the contact feels supportive.
4. Recline and return upright. The support should stay useful in both positions, without forcing your back into an exaggerated arch.
If you feel pressure, numbness, or a persistent increase in discomfort, ease off the support and reassess the fit. More lumbar pressure is not automatically better. A fixed, oversized pad is a common ergonomic chair design flaw because it can suit one torso and miss another.
Master seat depth: the two-finger rule
Seat depth affects whether your thighs get support without the chair edge pressing into the backs of your knees. Sit all the way back and check the space between the seat edge and your knees. A gap of two to four fingers, or roughly one to two inches, is a useful target.
If the seat is too deep, you may slide forward to avoid pressure behind the knees. That can leave your lower back unsupported. If it is too shallow, your thighs may have less support than they need. An adjustable seat pan lets you move the front edge closer or farther from the backrest while keeping your pelvis against the back.
| What you notice | Likely fit issue | What to adjust |
|---|---|---|
| Seat edge touches the backs of your knees | Seat depth may be too long | Slide the seat pan back, if adjustable |
| A large gap remains behind your knees | Seat may be too short for your thighs | Extend the seat pan, if adjustable |
| You slide forward to reach the backrest | Seat depth or backrest shape may not fit | Recheck depth, then reposition lumbar support |
| Feet lose contact with the floor after setting the seat | Seat height is too high for your leg length | Lower the chair or add a footrest if desk height requires it |
Don’t judge seat depth while sitting on the front edge. That position changes how your pelvis and back meet the chair. Set the depth with your body against the backrest, then confirm you can keep both feet supported.
Stability, armrests, and the desk connection
A five-leg star base with casters is a practical stability feature. It gives the chair a broad footprint as you shift position or roll around the workstation. Check that the base feels steady and that the casters suit your floor; a chair that glides too easily can make precise positioning harder.
Armrests should support your forearms without lifting your shoulders or forcing your elbows outward. Height-adjustable armrests let you bring support closer to elbow level. Common recommended adjustment ranges are around 6.7 to 10.6 inches above the seat, with about 18.1 inches of clearance between armrests. Those dimensions are reference points. Your shoulder width and desk setup decide what feels workable.
Use this spatial cue: let your upper arms hang near your sides, bend your elbows comfortably, and bring the armrests close enough to meet your forearms. If the armrests hit the desk before the chair can move in, lower or remove them if the design allows. If they push your elbows wide, the chair may be too narrow or the armrests may be poorly positioned.
Common ergonomic chair design flaws show up in the adjustment range, not the marketing copy:
- A lumbar pad that stays fixed at the wrong height for your back.
- A seat pan that is too deep and cannot slide forward.
- Armrests that block the chair from moving close to the desk.
- A base that feels unstable when you shift or reach.
- Controls that are hard to find or adjust, so the chair never gets fitted properly.
Before treating a chair as an ergonomic furniture investment, sit in it and test the controls. A feature only helps if it moves through a useful range and stays in place. If you’re shopping online, look for clear dimensions and adjustment descriptions, especially seat height, seat depth, lumbar position, and armrest movement. A long list of features is less useful than a few adjustments that fit your body.
The chair is an anchor, not a movement plan
Even a well-fitted chair cannot cancel out long periods without movement. Change positions during the day. Stand to take a call, walk briefly between tasks, or use a movement snack to reset before stiffness builds. Keep the chair as an anchor for supported work, then leave it regularly.
You can also reduce reaching by bringing the keyboard and mouse close, keeping the screen in front of you, and placing frequently used items within easy reach. If you lean toward the screen, check its height and distance before blaming the chair. Your posture responds to the whole workstation.
A useful reset is small enough to repeat: stand, take a few steps, then sit back down and recheck your feet, seat depth, and lumbar contact. If back discomfort persists, worsens, or comes with symptoms such as numbness or weakness, get appropriate clinical guidance rather than relying on chair adjustments alone.
Take 30 seconds now: sit back, place both feet flat, slide your fingers between the seat edge and the backs of your knees, then move the lumbar support until it meets your lower-back curve. That quick calibration won’t solve every desk problem, but it gives your spine a better starting position for the next stretch of work.